After successfully installing and activating Gigneo – Multipurpose Freelance Service Marketplace Builder, the next step is configuring your marketplace.
The configuration process allows you to define how your platform operates, customize marketplace workflows, configure monetization systems, and prepare your website for service providers and clients.
Proper configuration ensures your marketplace is optimized for your business model from the beginning.
To begin configuration, log in to your WordPress admin dashboard and navigate to the Gigneo -> Settings.
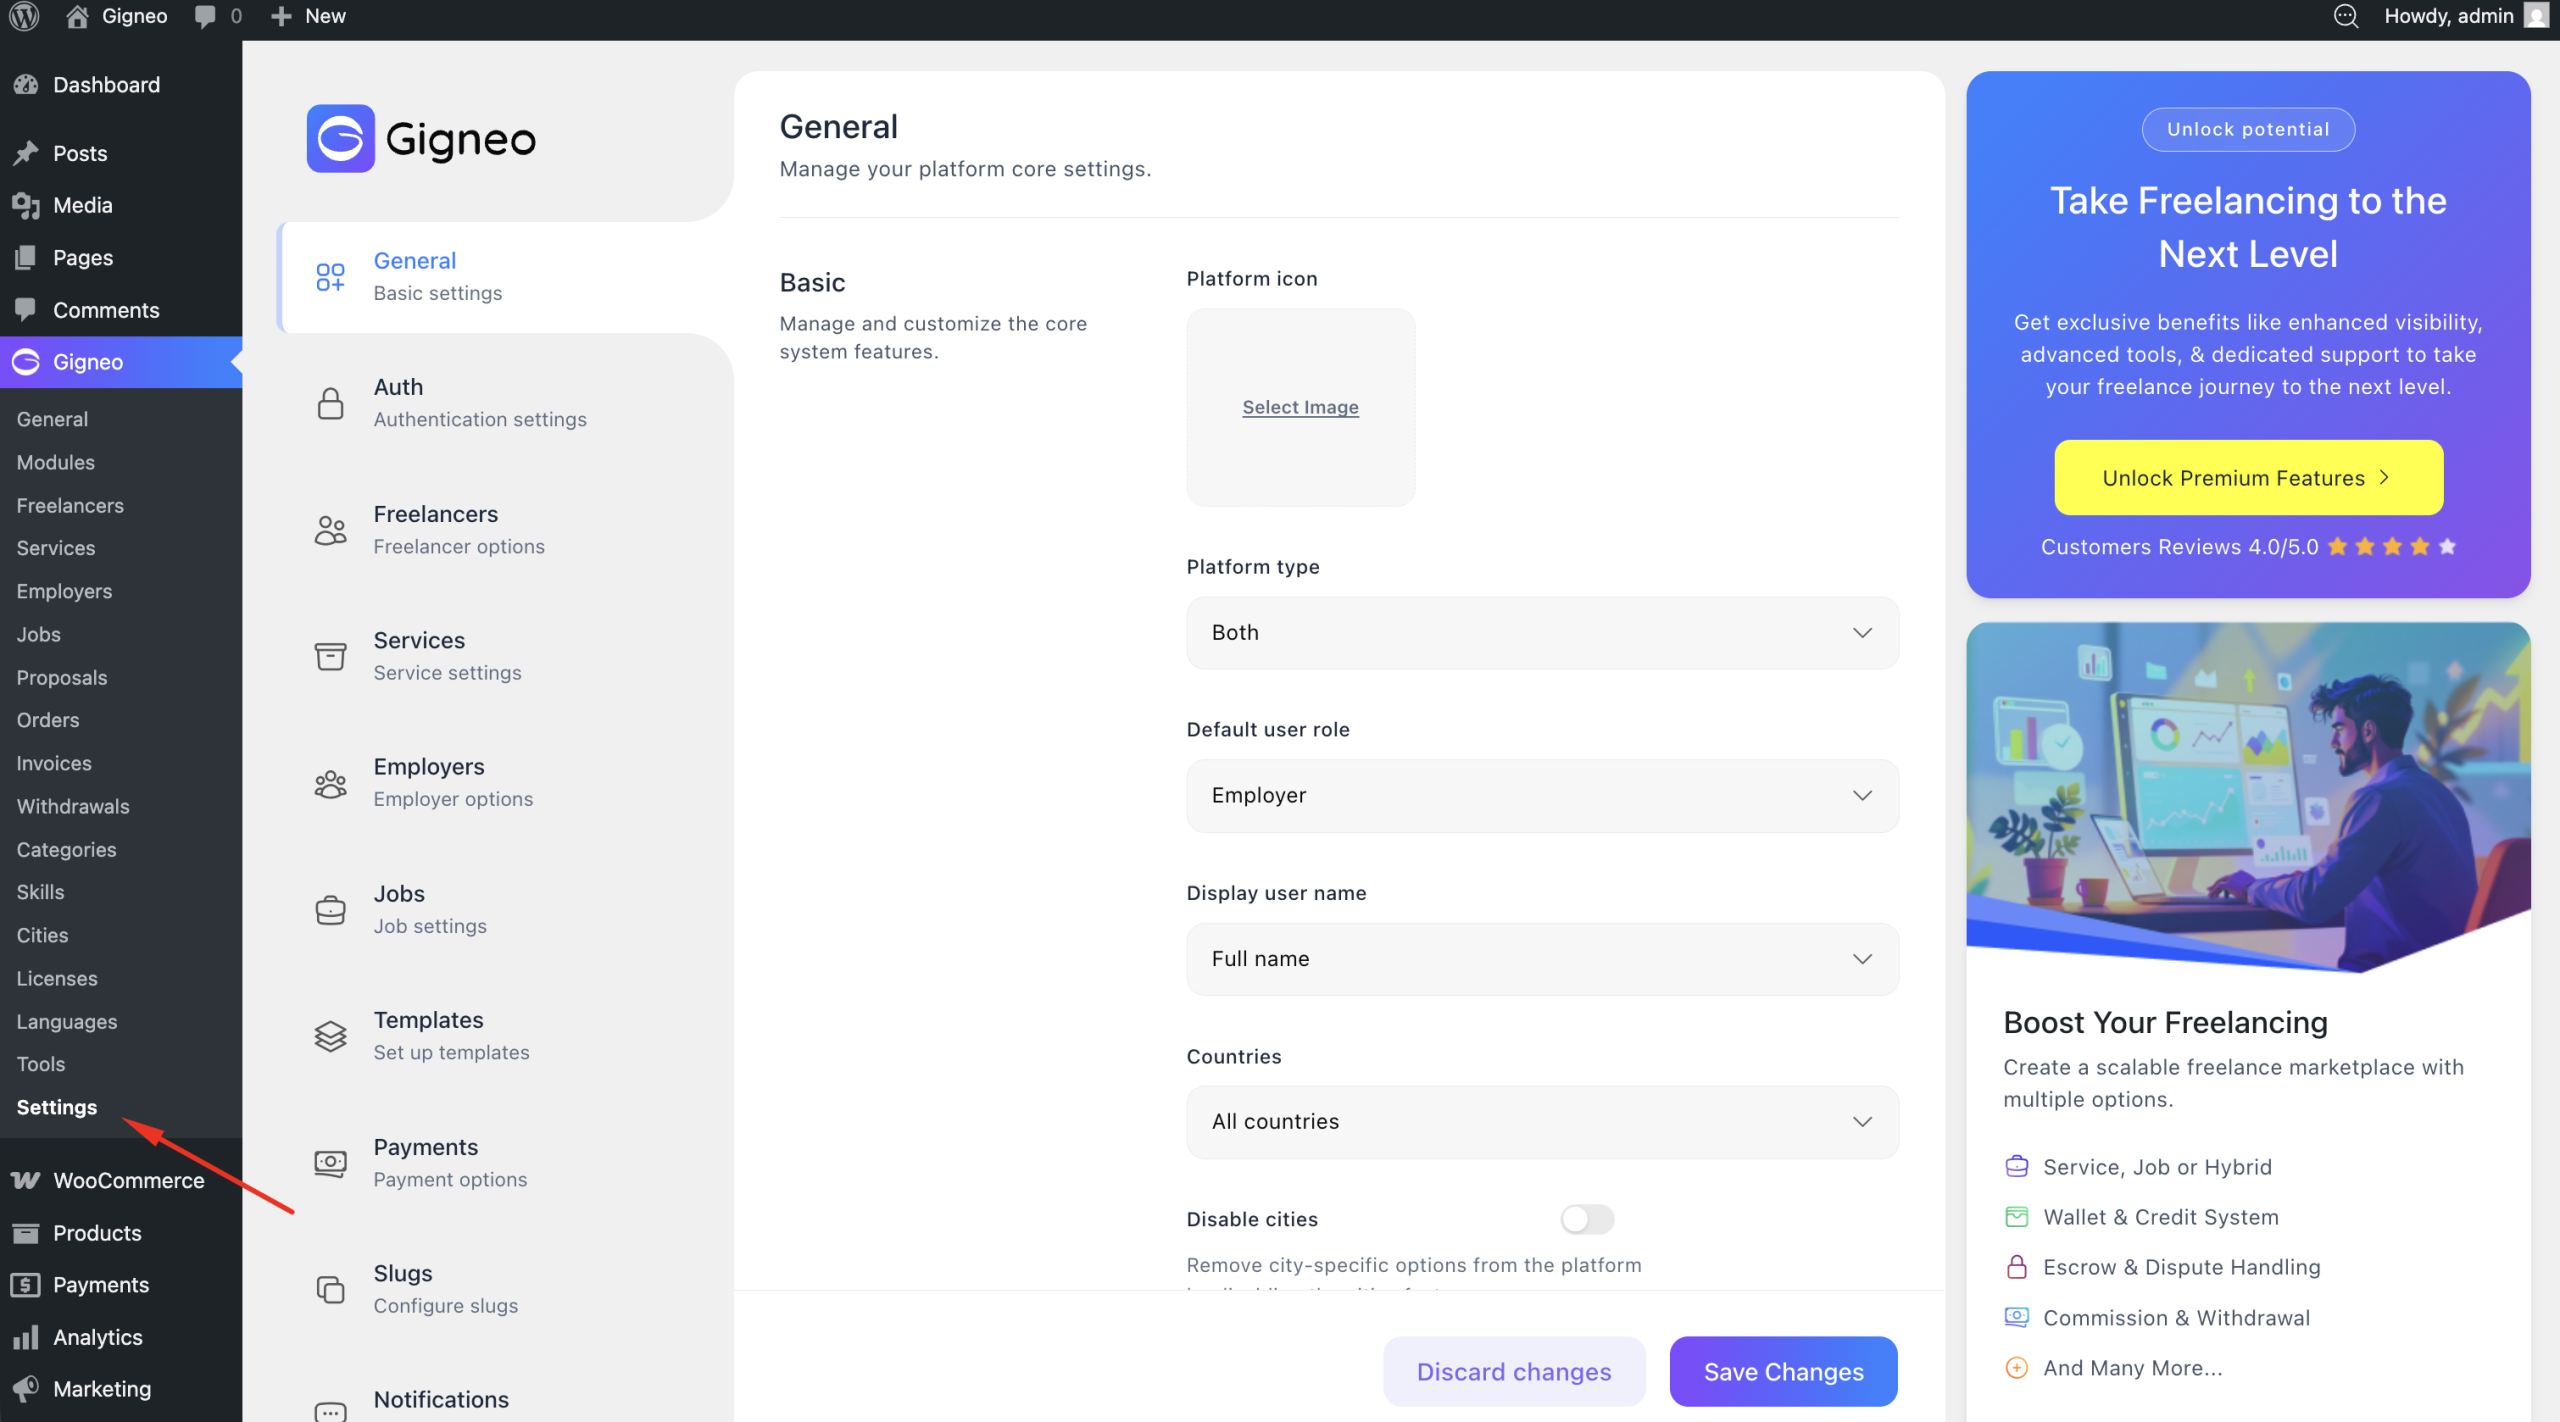
This is the central control panel where all marketplace settings and platform options can be managed.
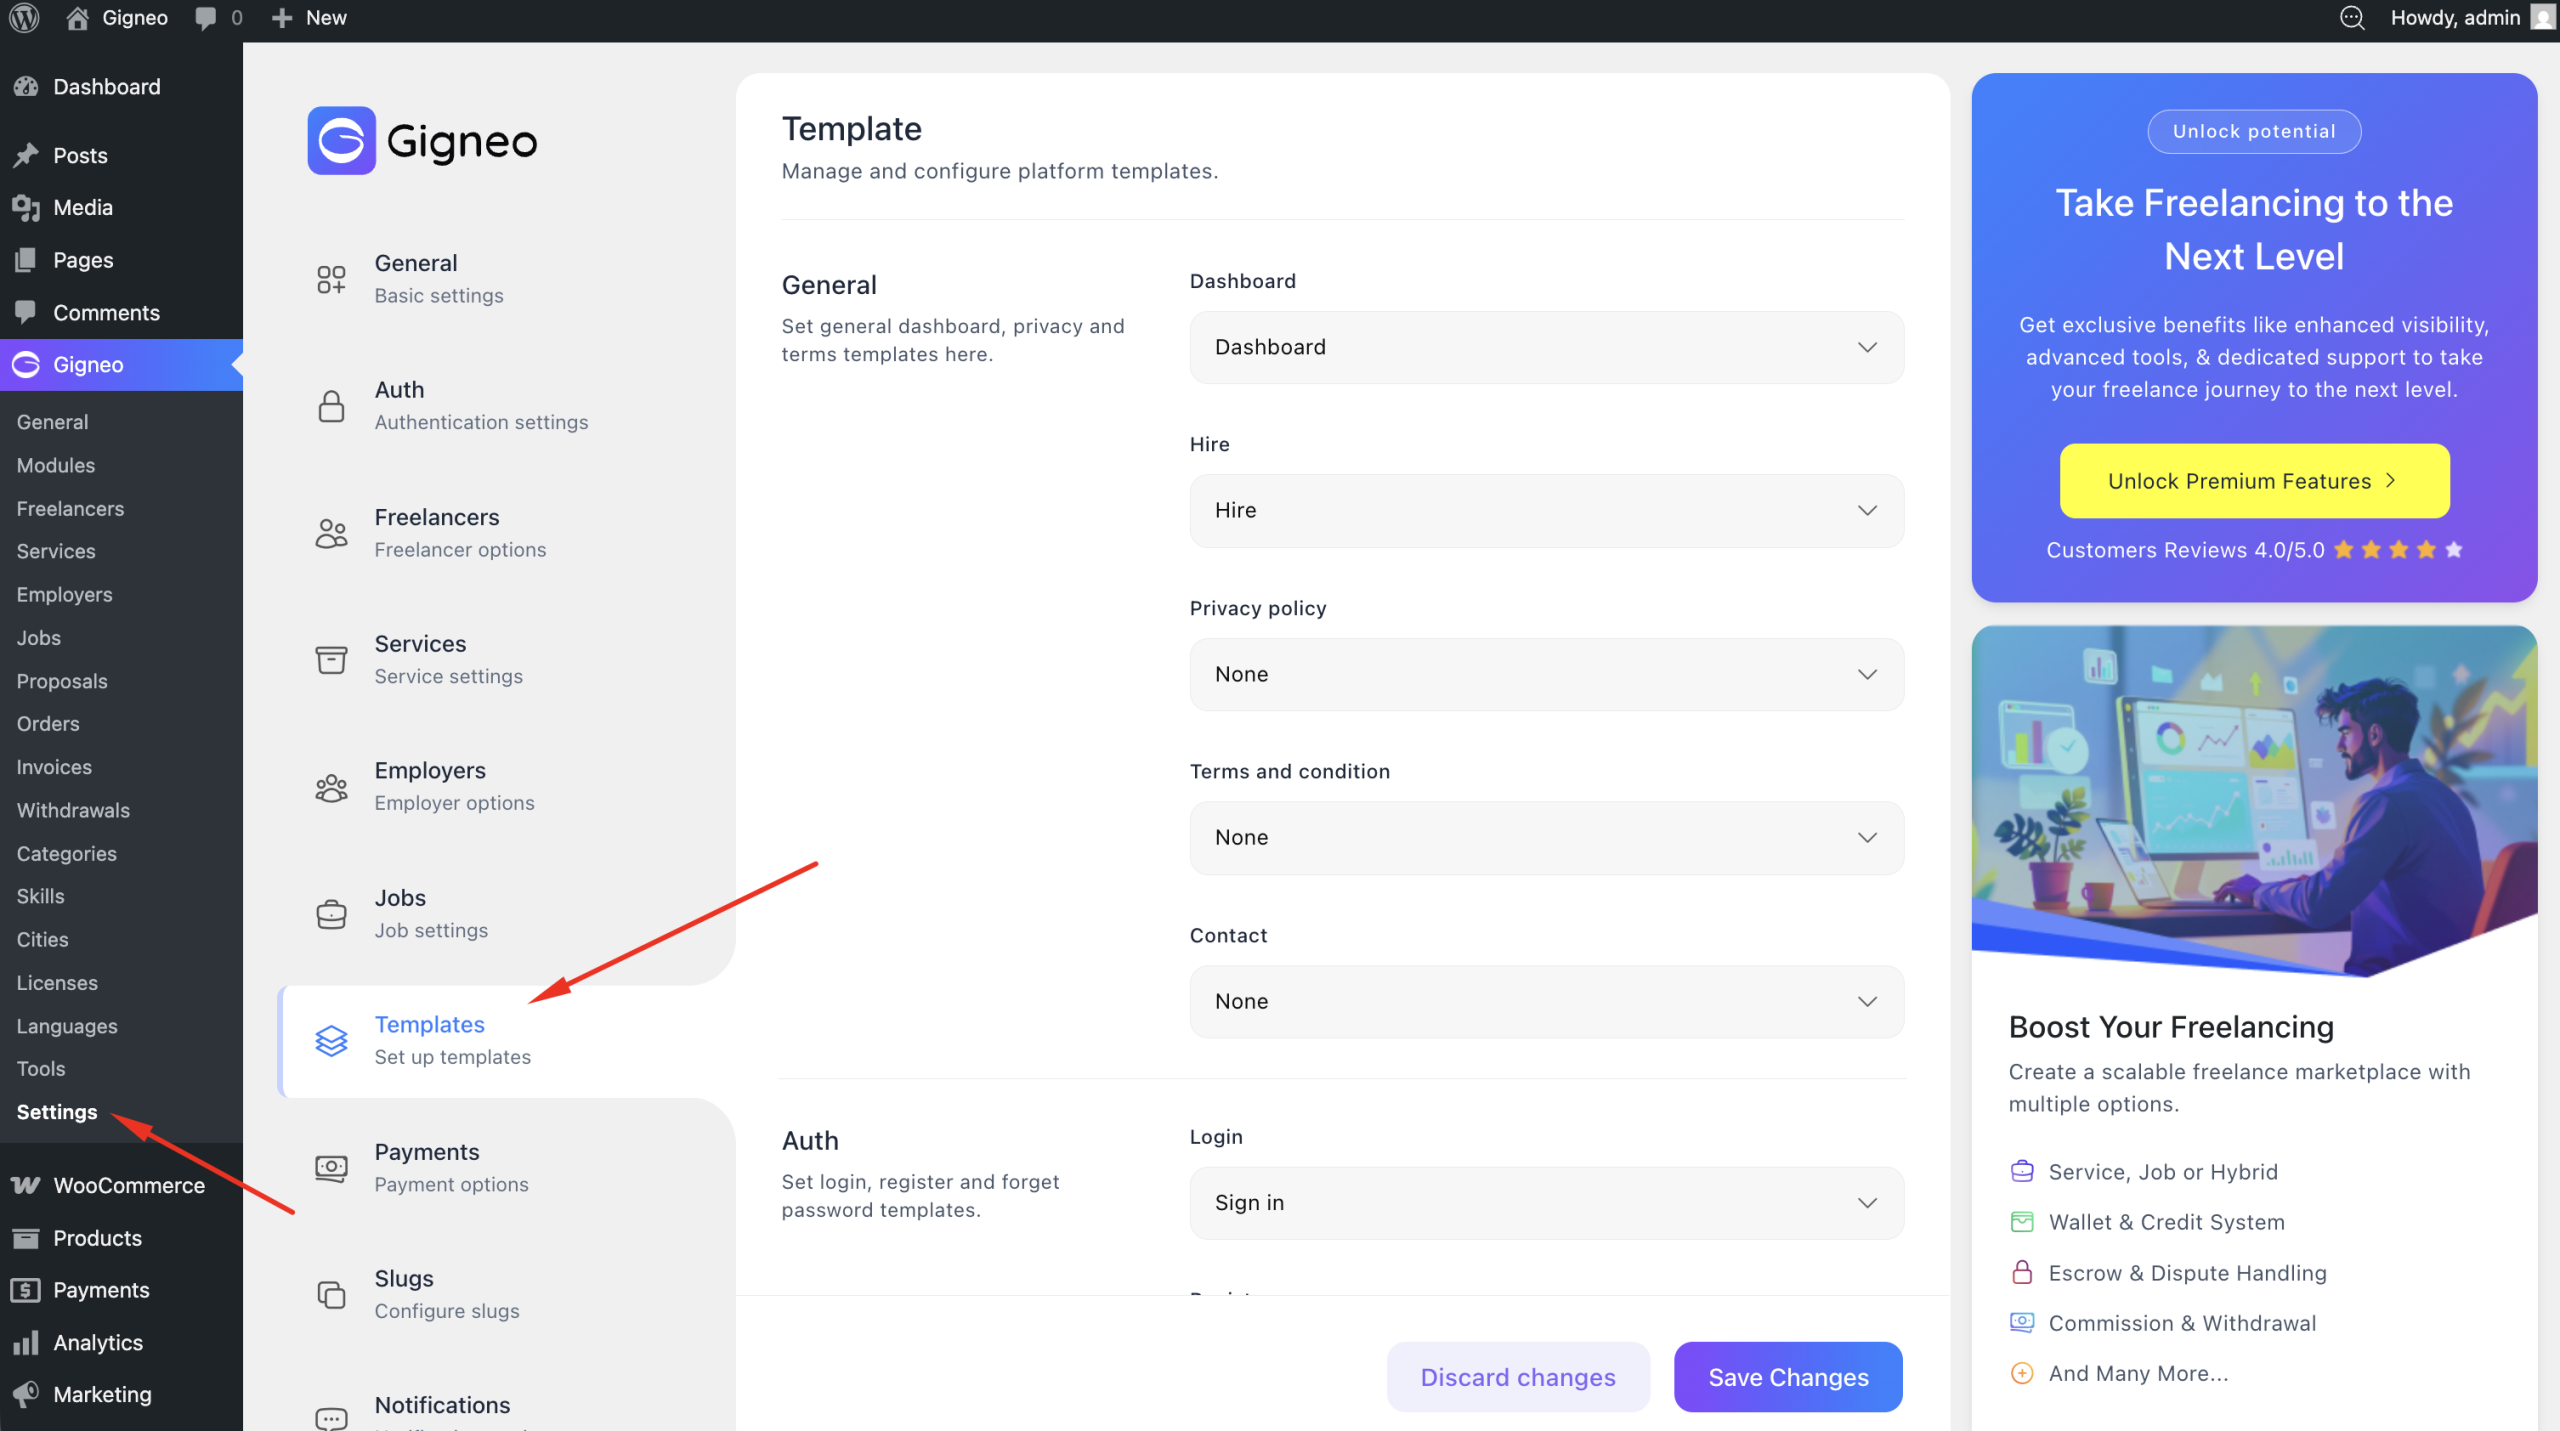
Setup Templates
After activating Gigneo, the first step is verifying that all required marketplace templates and pages are properly configured.
Gigneo uses templates to generate the essential pages and structures needed for marketplace functionality. These templates create the foundation of your platform and must be configured before proceeding with additional settings.
To begin, navigate to Gigneo → Settings → Templates and make sure all required templates are created and properly assigned.
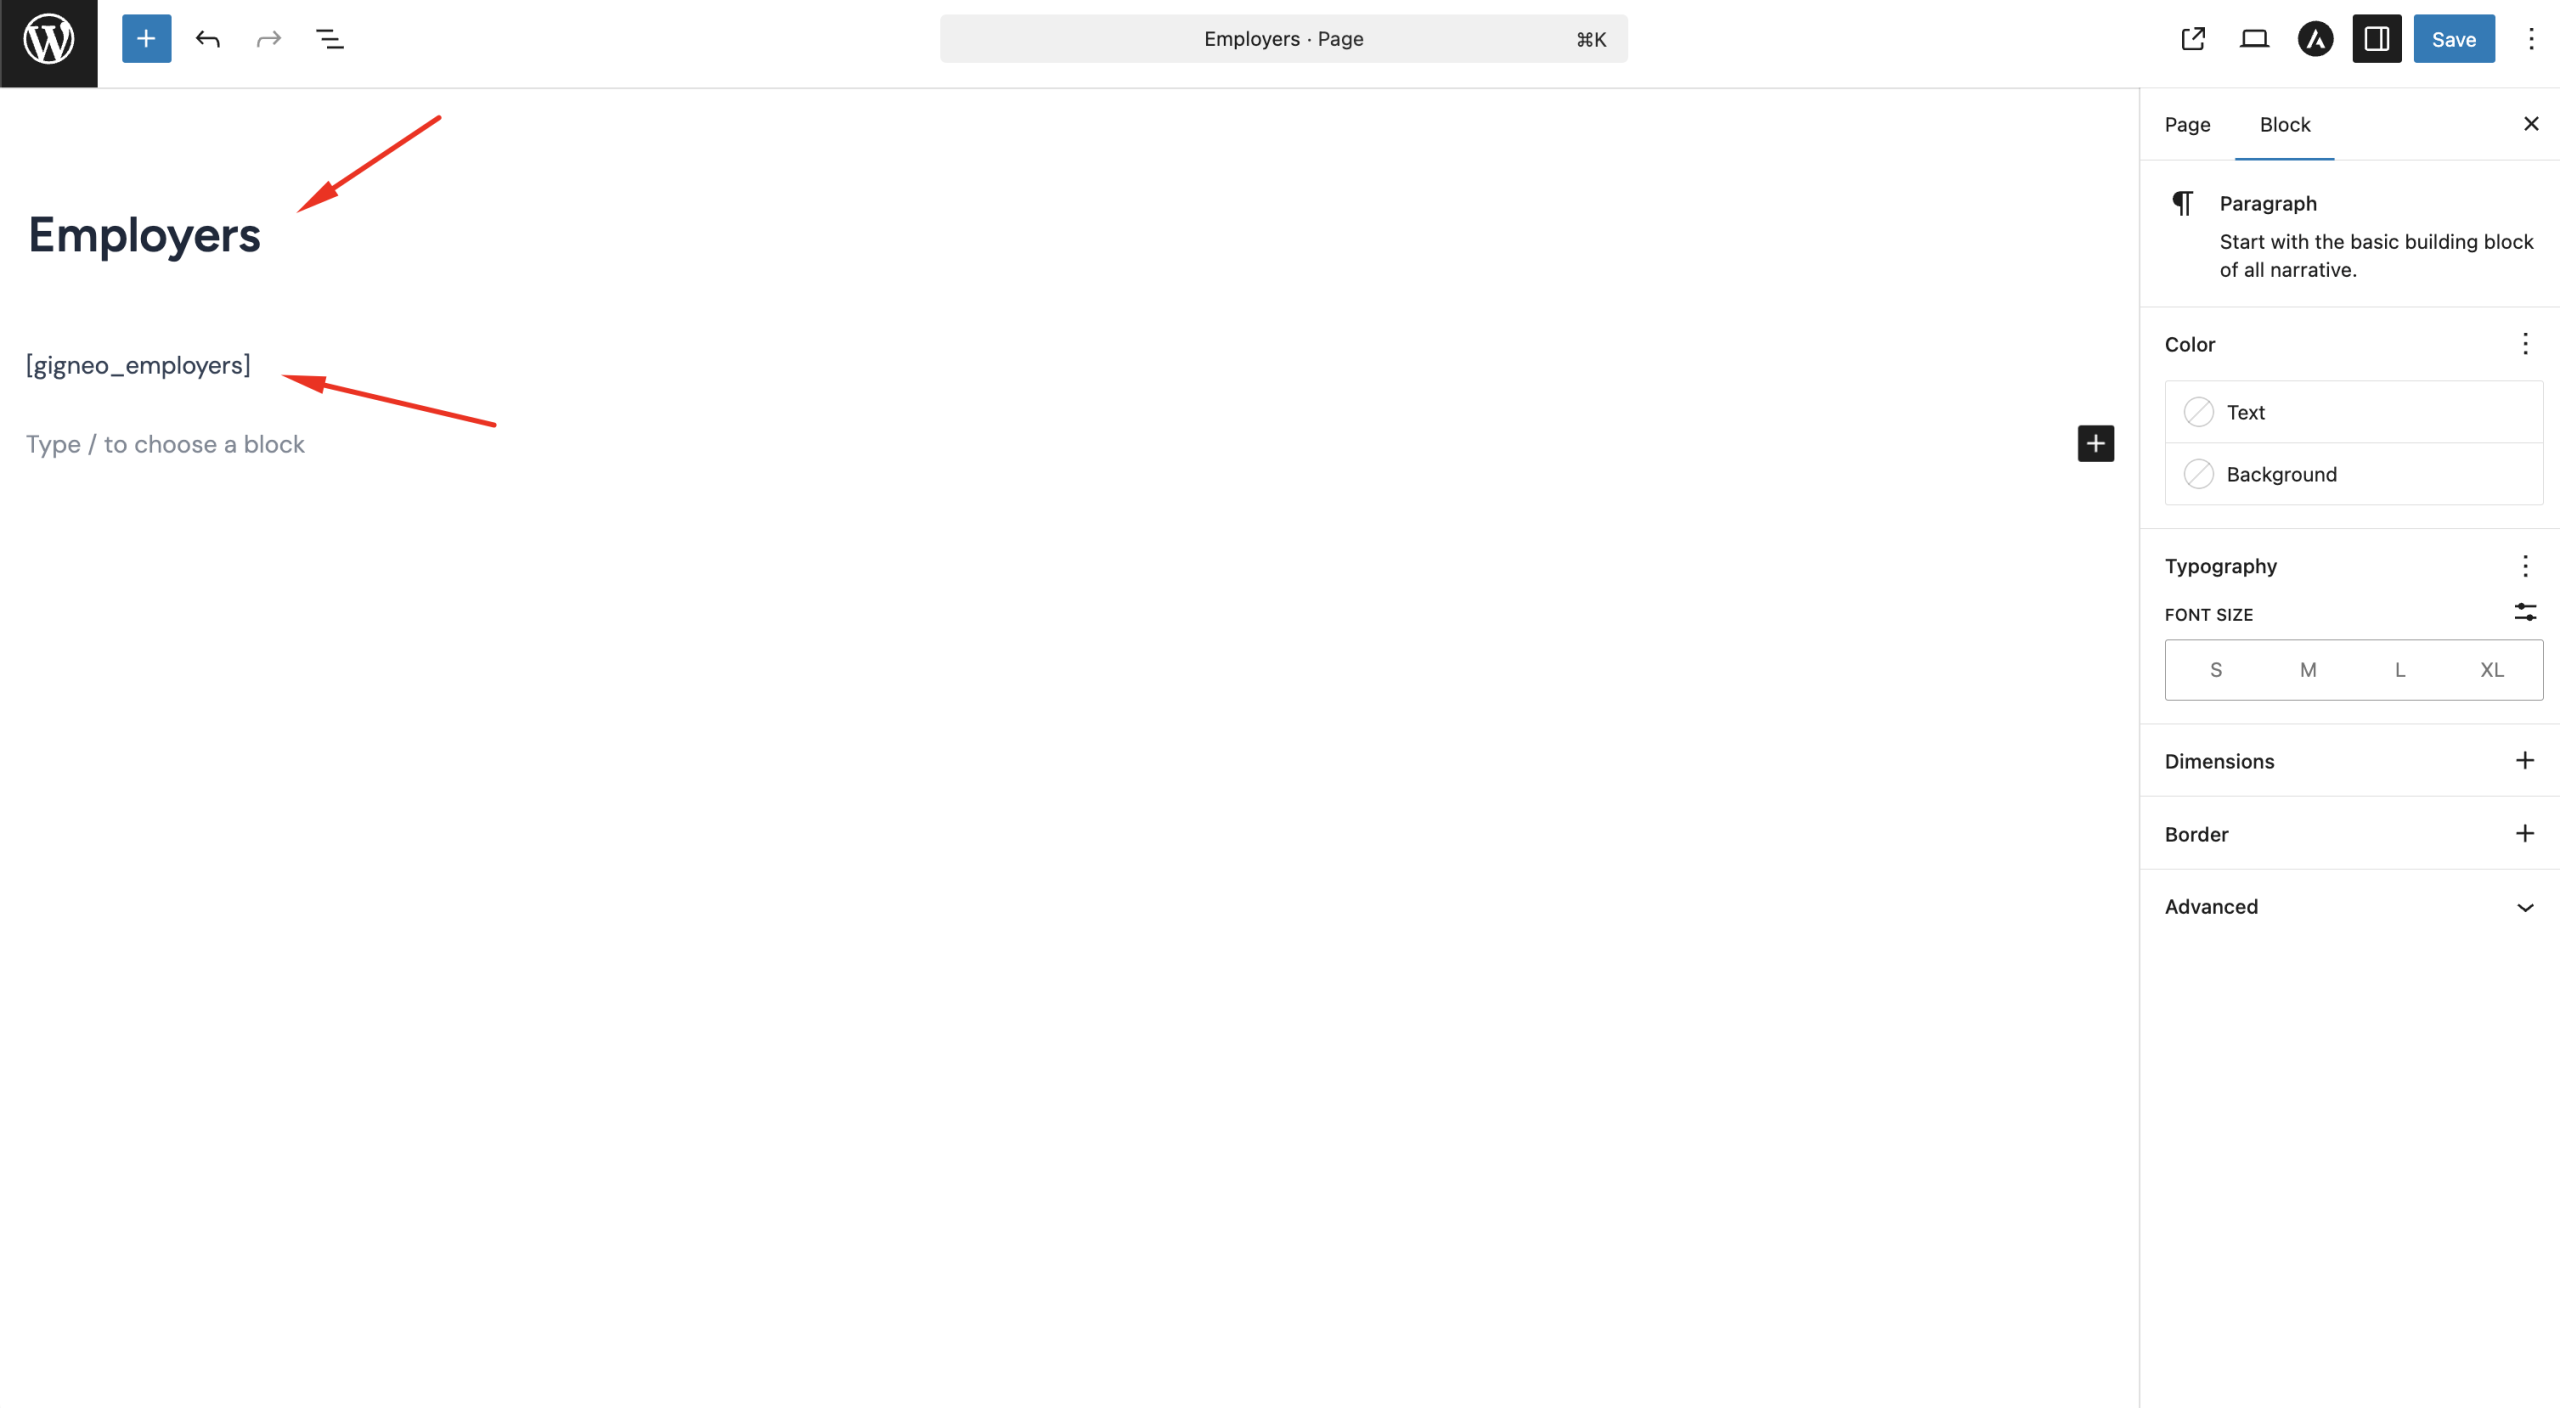
If any page is missing or not configured, you will need to create it manually.
To create a missing page, navigate to Pages → Add New, create the page, and insert the relevant shortcode assigned for that template.
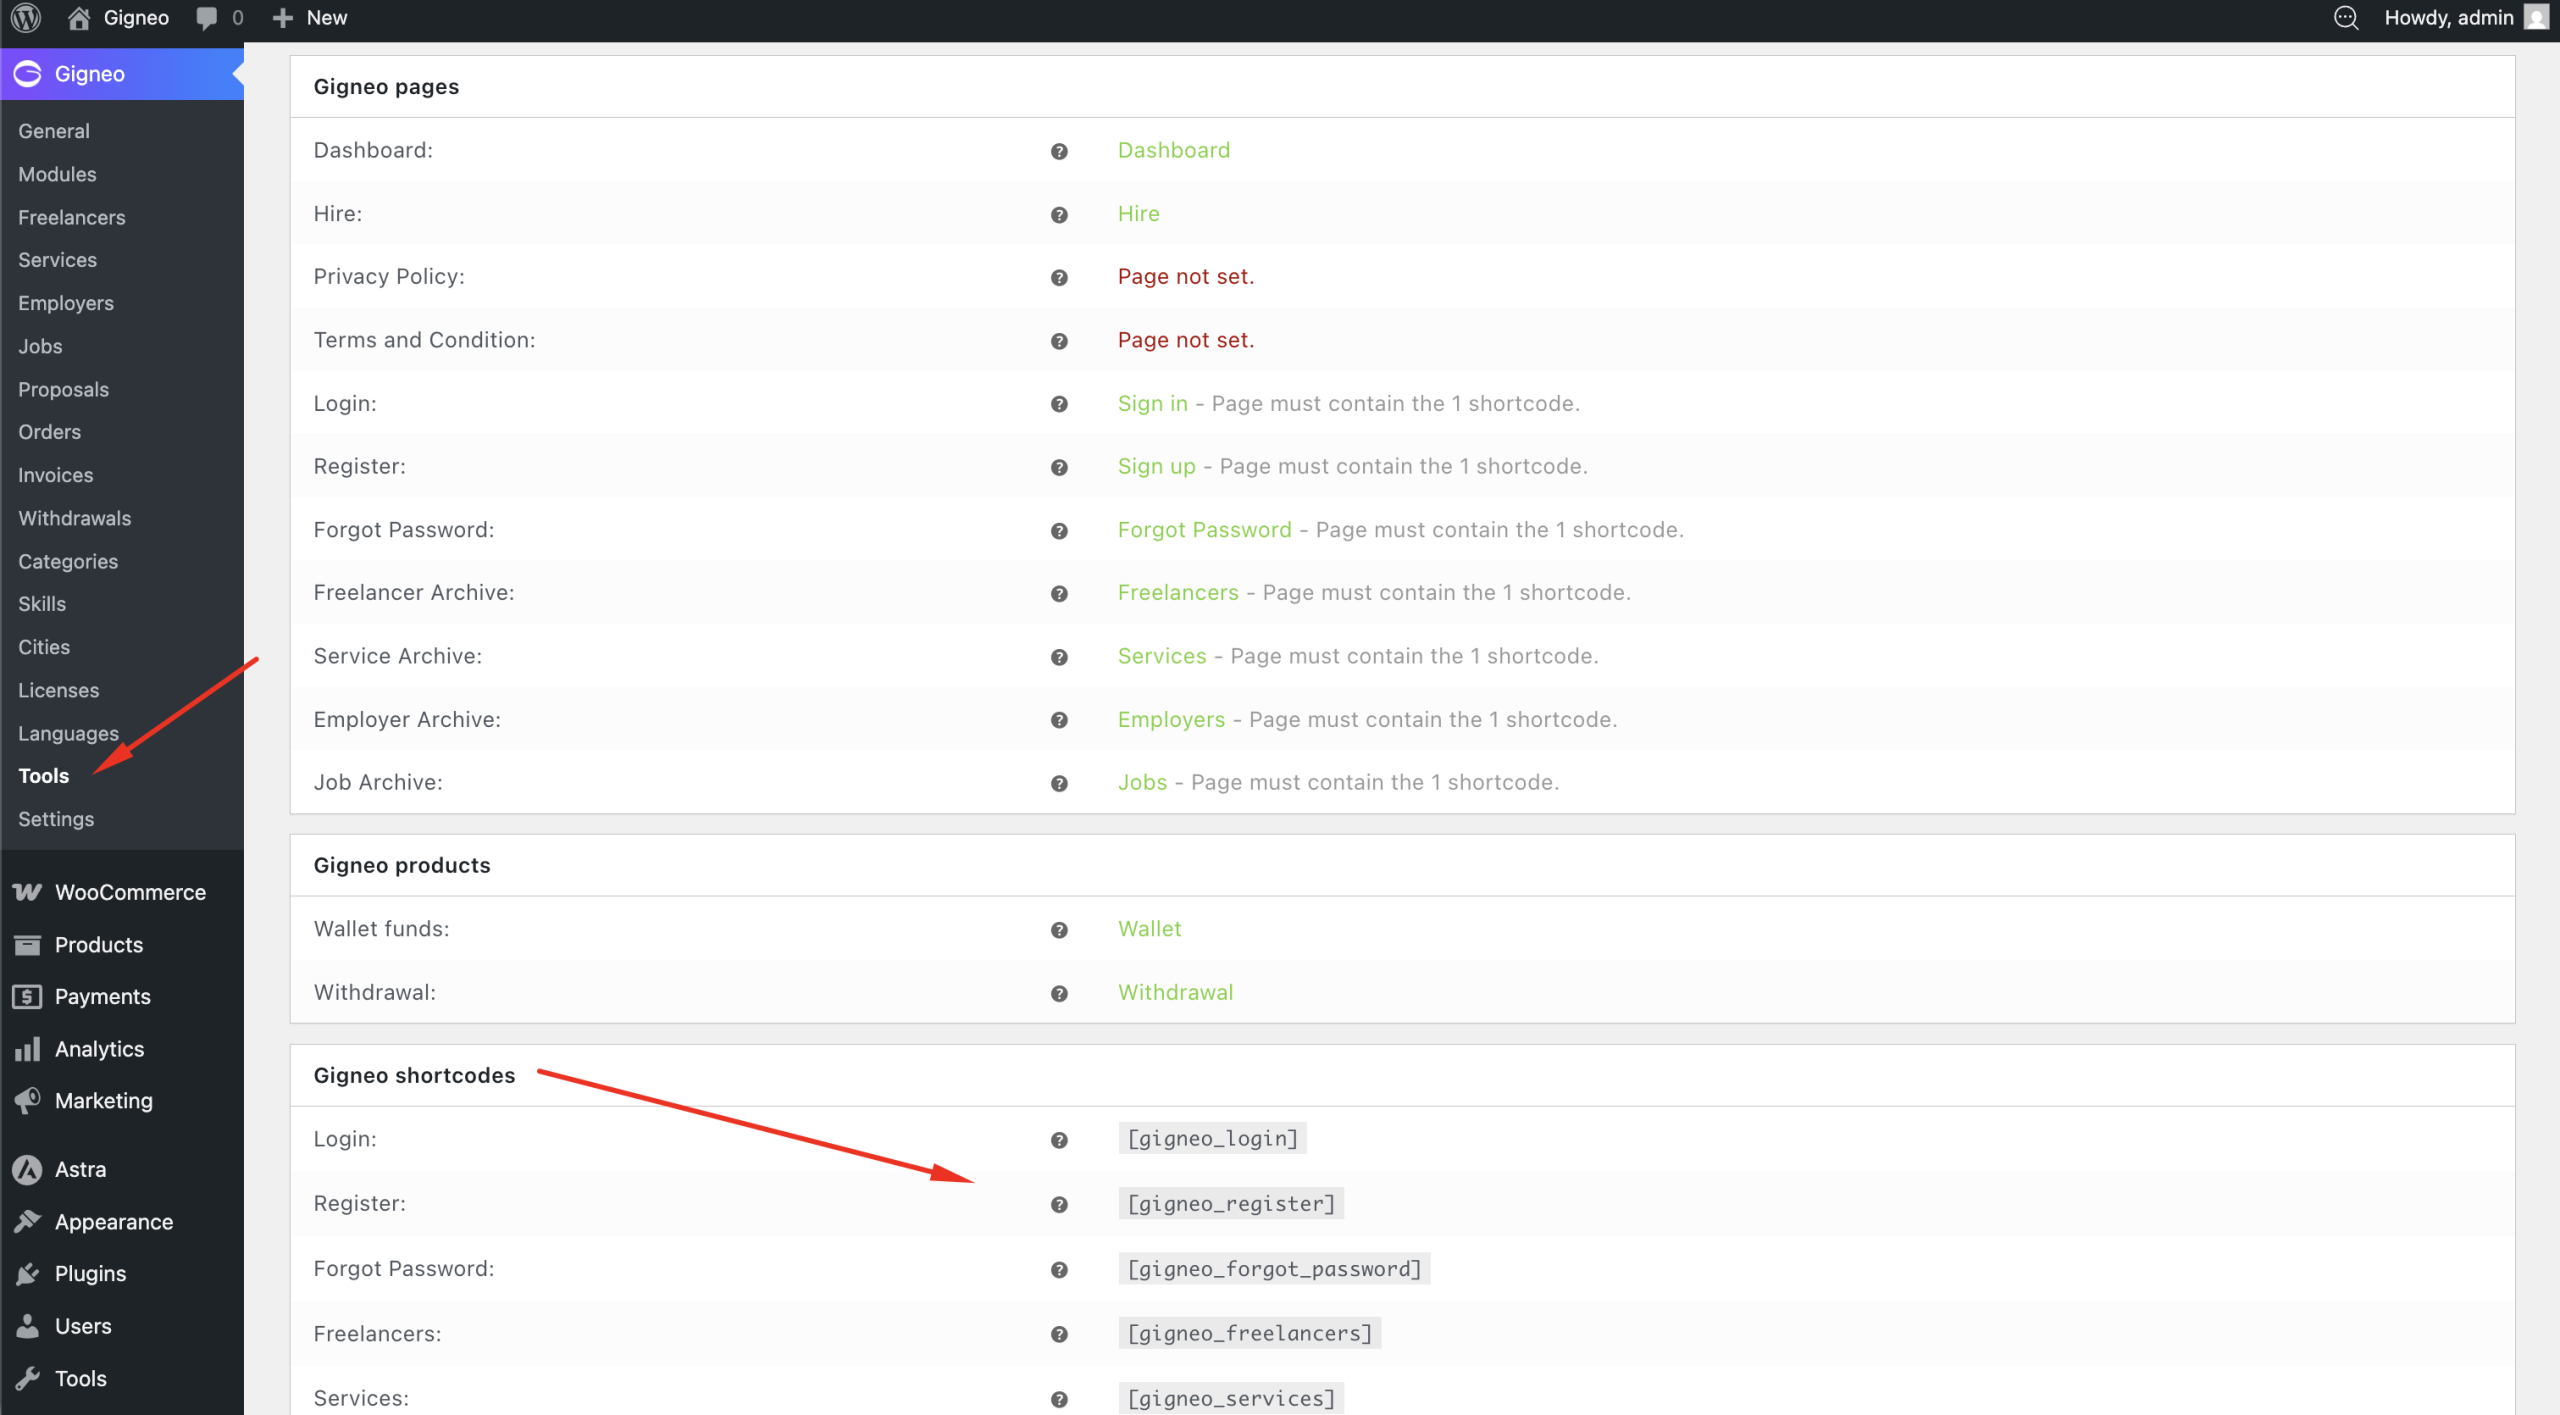
You can view the required shortcode and page status by navigating to Gigneo → Tools → Status.
Once all templates are properly configured, the next step is setting up the required transaction products before continuing with the remaining marketplace configuration.
Setup Products
After completing template setup, the next step is configuring the required WooCommerce products used for marketplace financial transactions.
Gigneo requires dedicated WooCommerce products for wallet and withdrawal transactions. These products allow the platform to process and track marketplace financial activity separately from your normal WooCommerce store transactions.
To configure these products, navigate to Gigneo → Settings → Payments and make sure both required products are properly assigned.
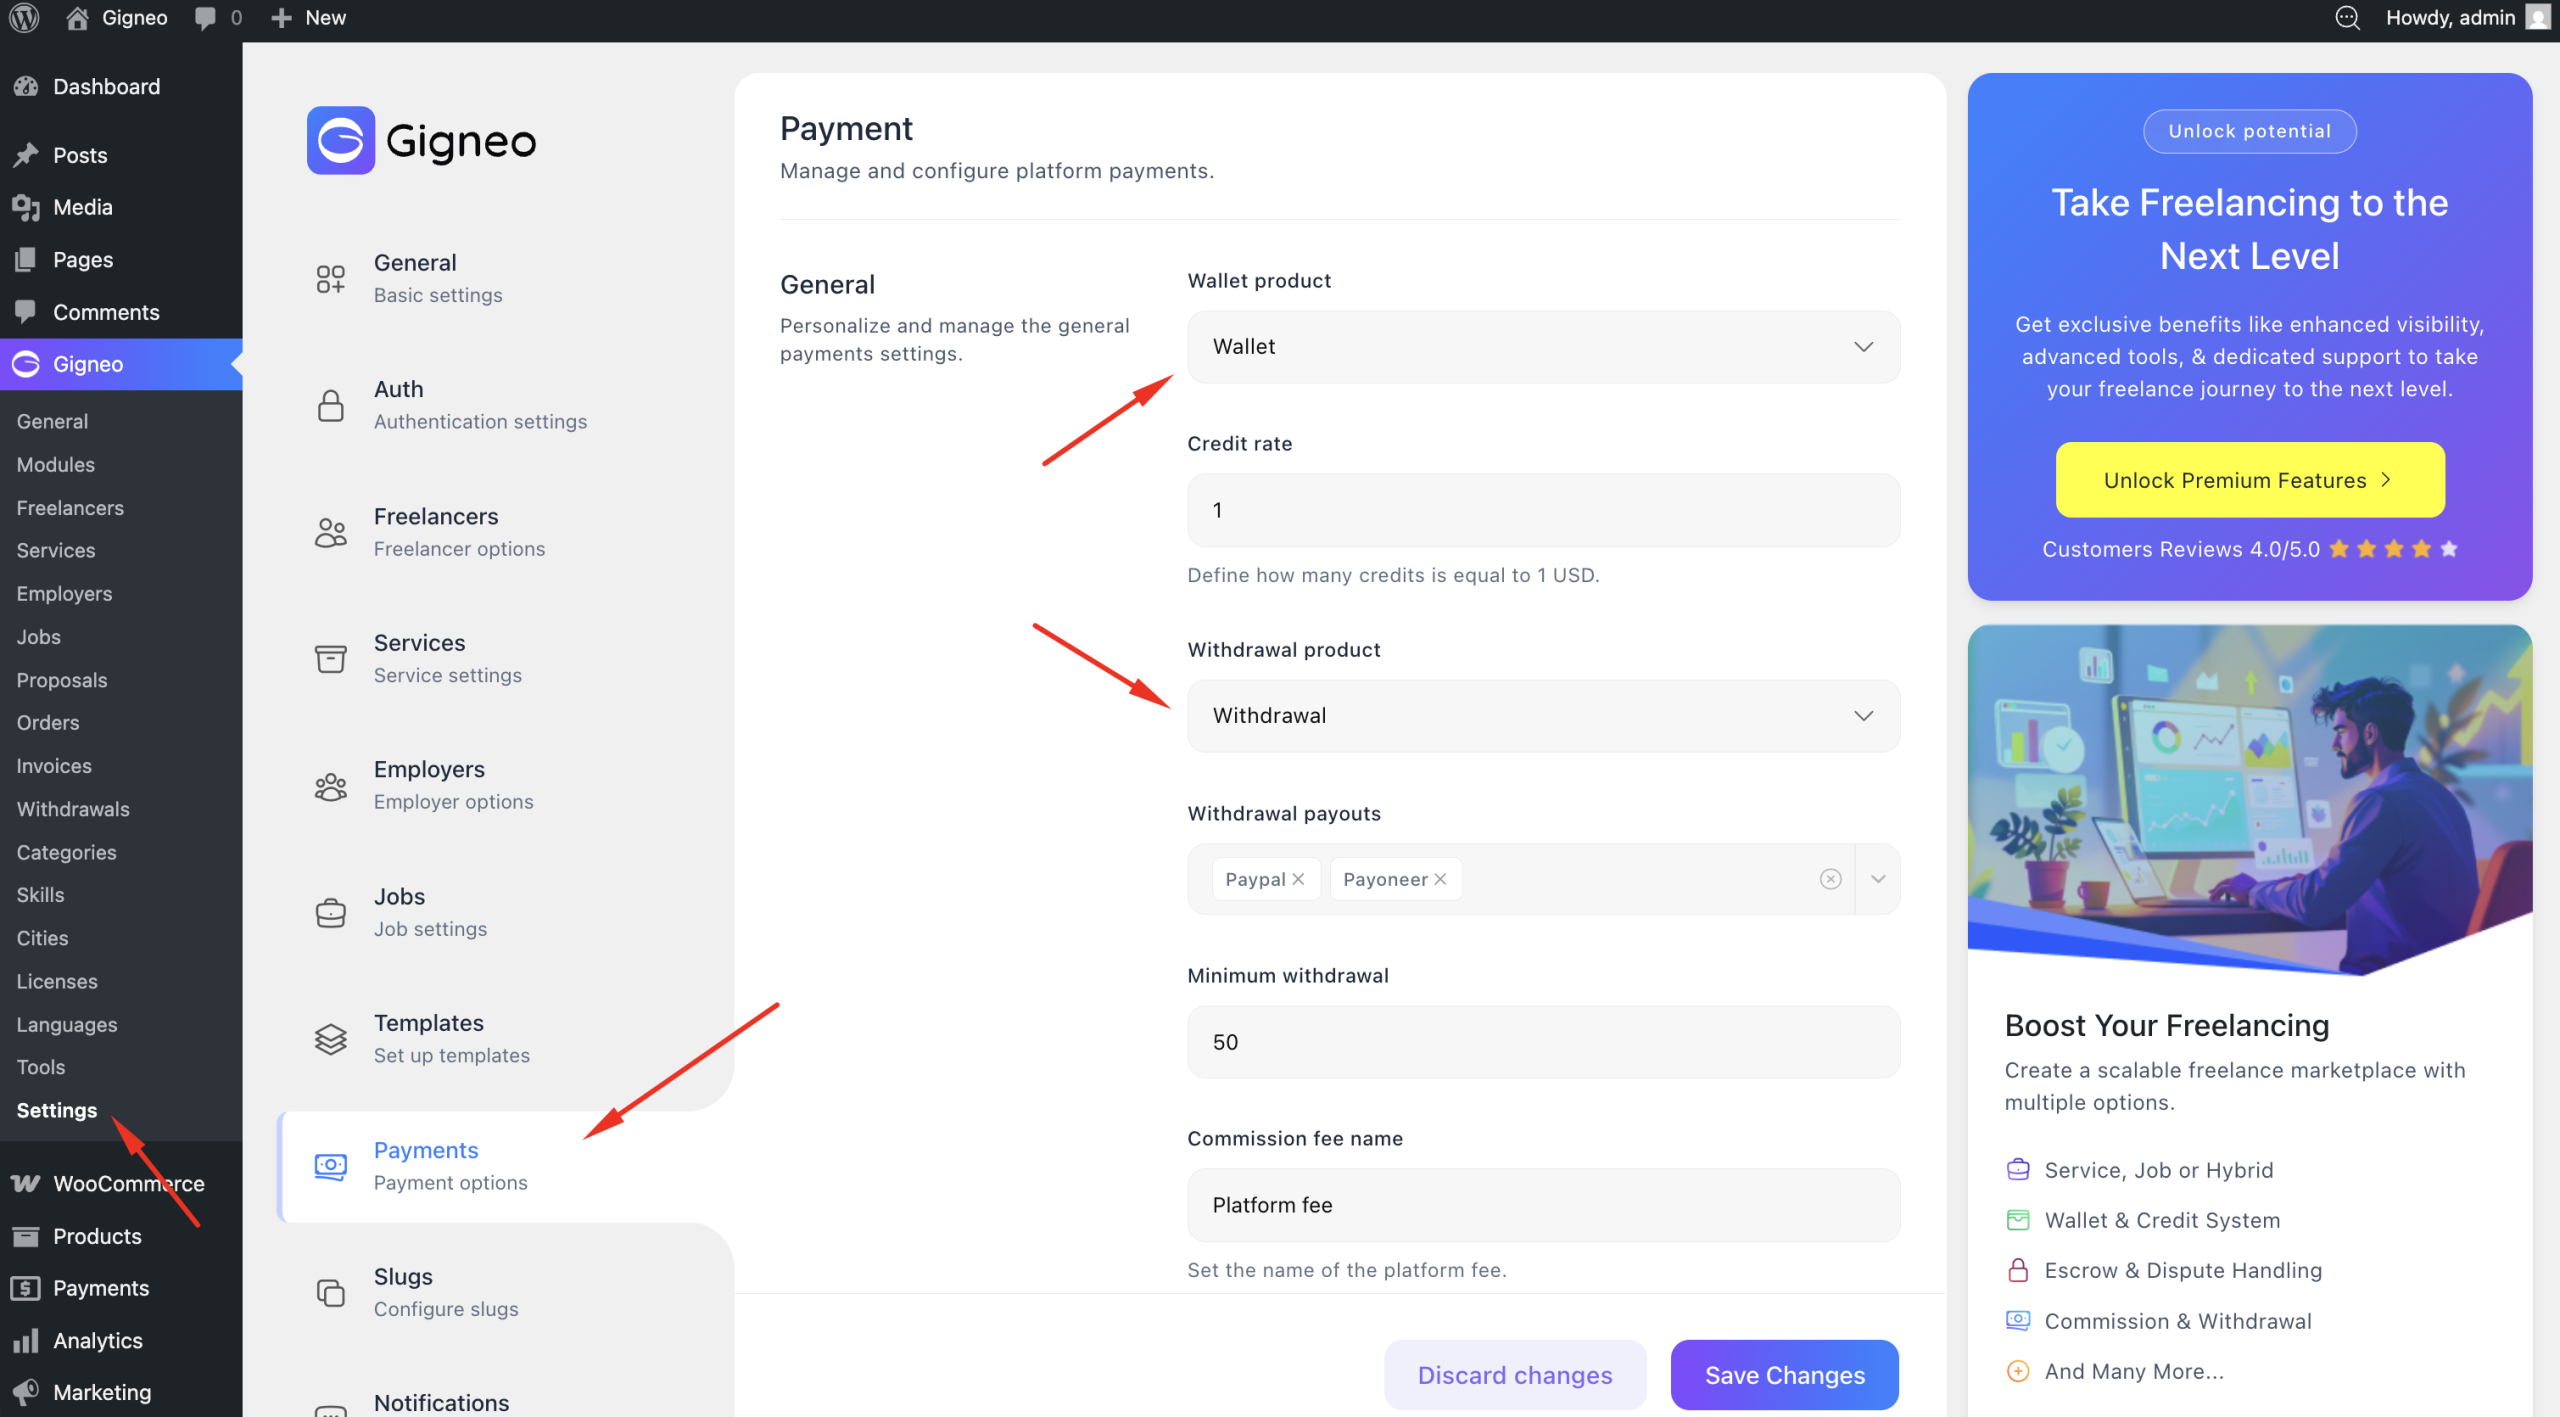
If the products are not configured, you will need to create them manually in WooCommerce.
To create a required product, navigate to Products → Add New and create a new product for the missing transaction type.
When creating these products, make sure to:
Set the product as Virtual and Downloadable, then set the product price to 1.
Hide the product from the shop page or catalog visibility.
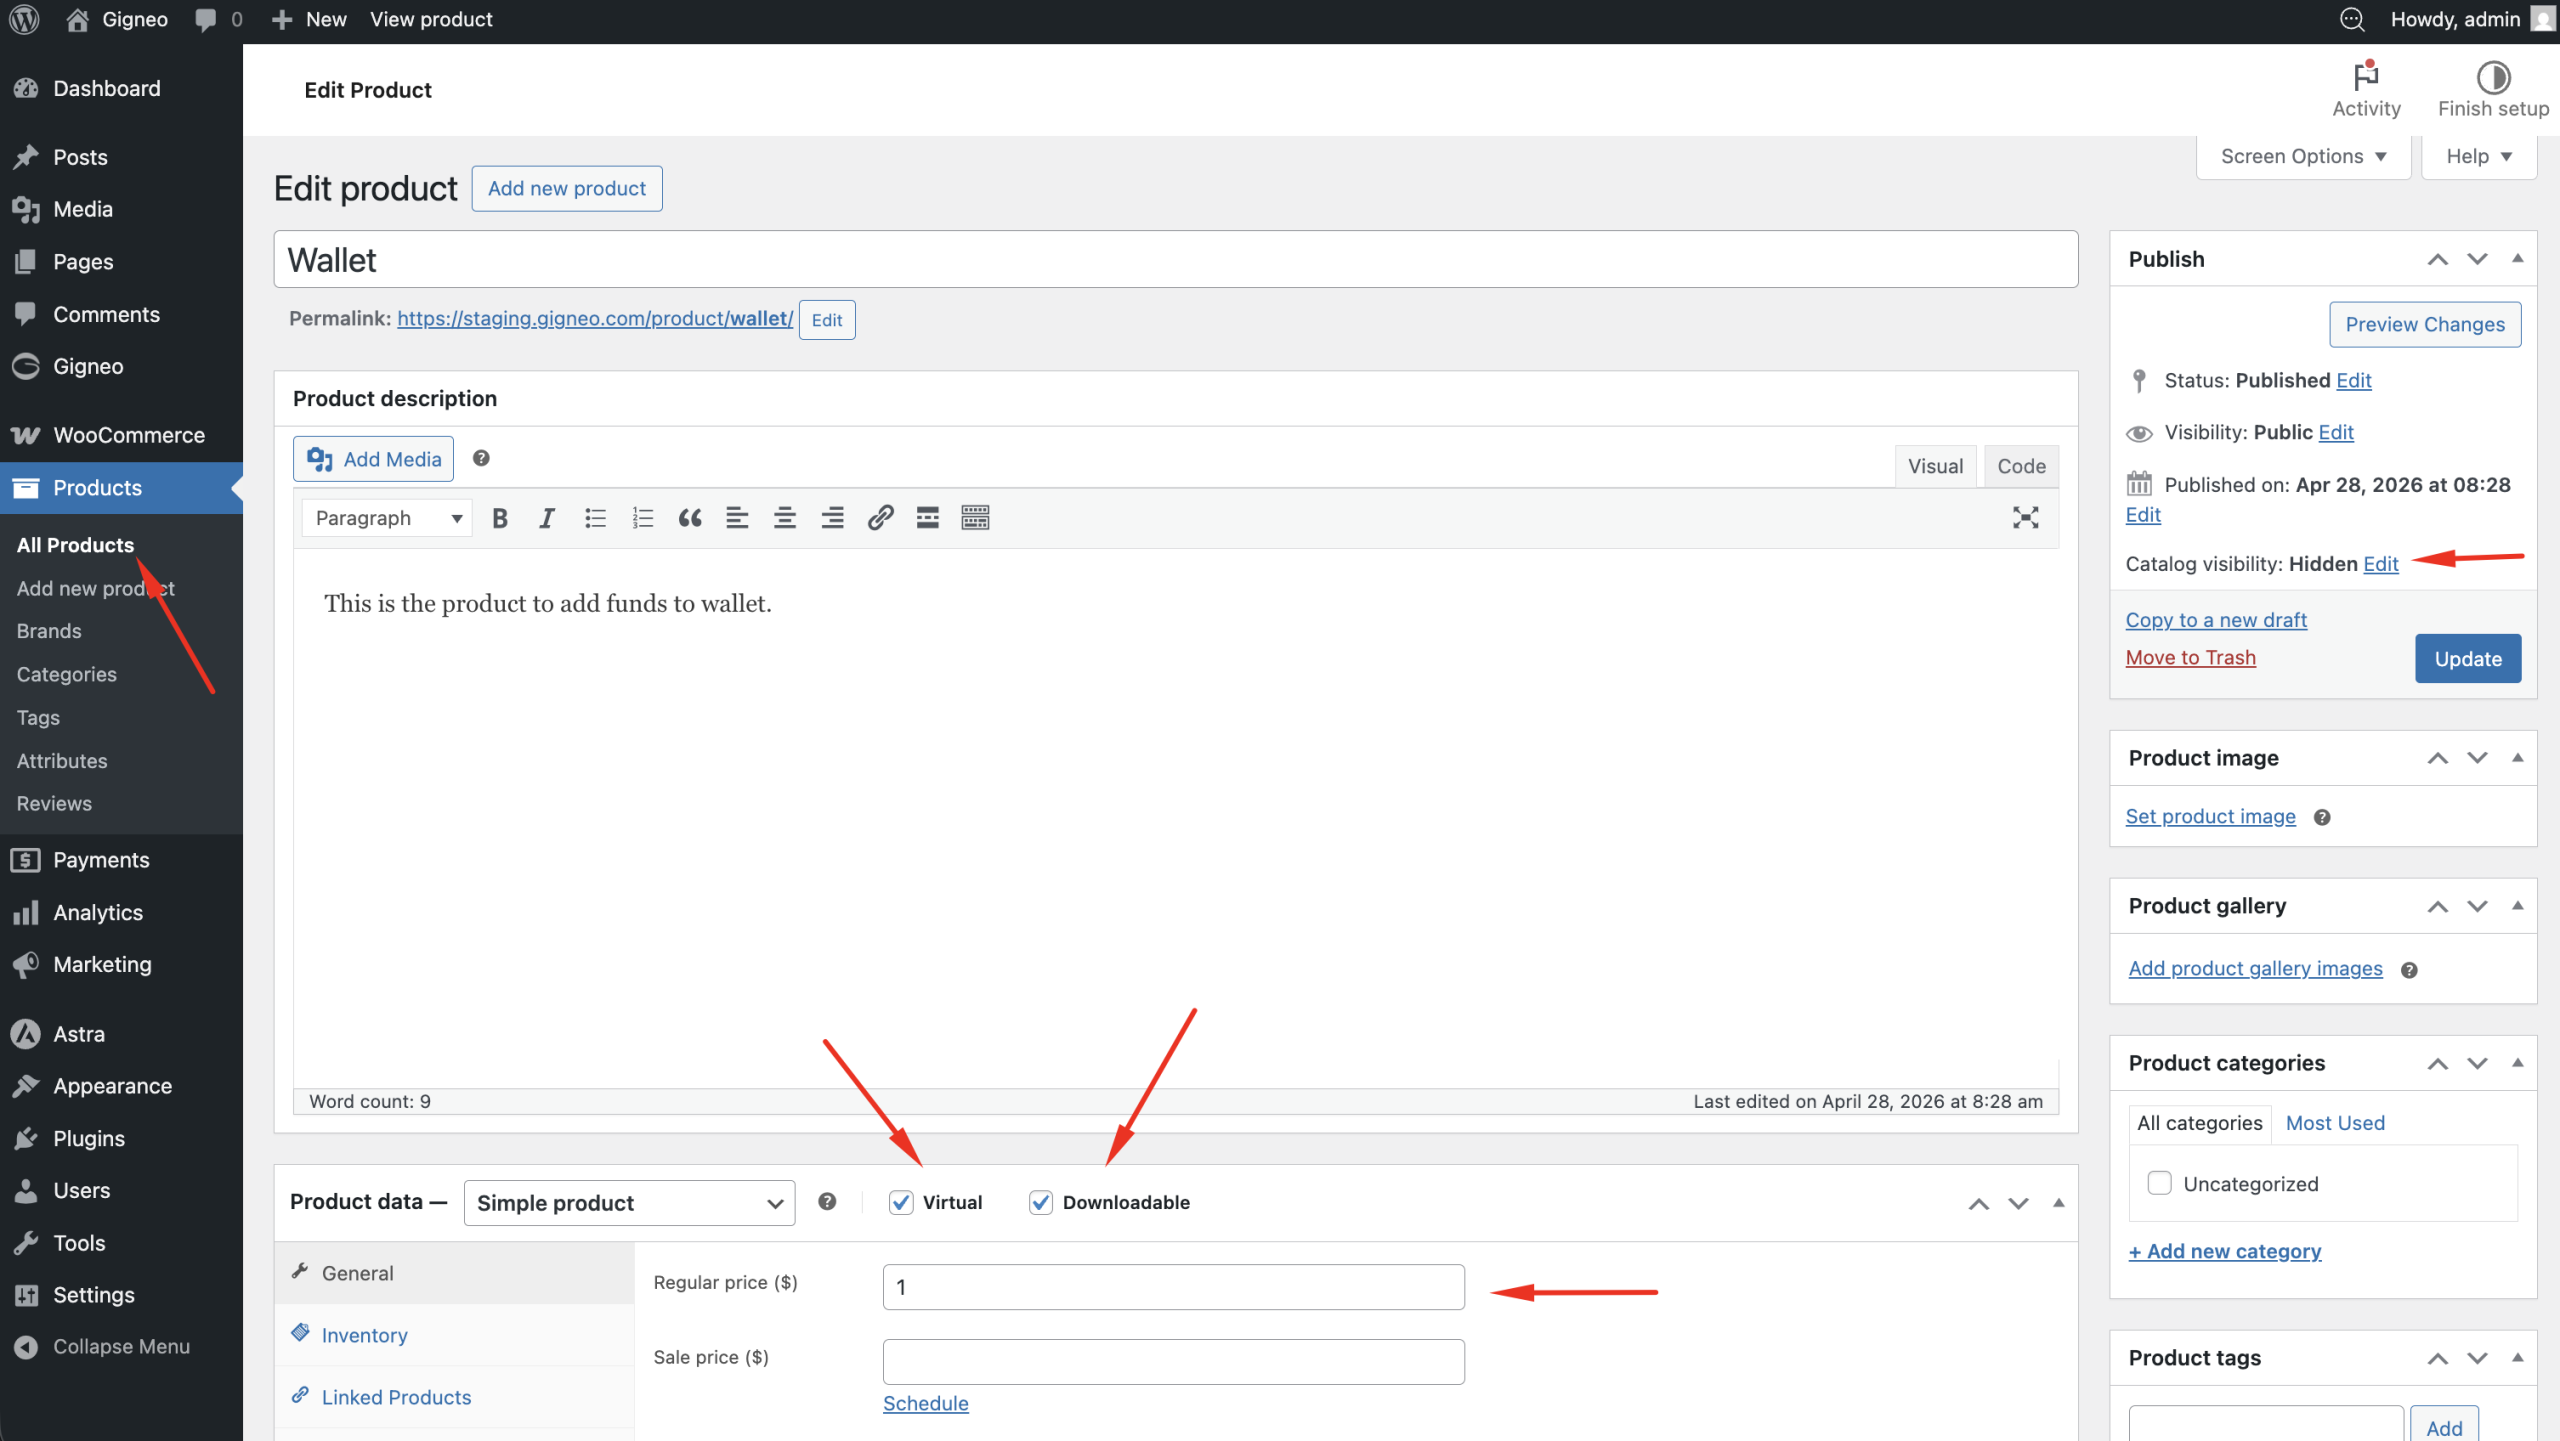
These settings ensure the products are used only for internal marketplace transaction processing and do not appear as public products for customers.
Once both wallet and withdrawal products are properly configured, your marketplace financial system will be ready for wallet deposits, withdrawals, and transaction tracking.